
What is it?
-Camera rotation photography refers to the act of rotating the camera around its own axis while taking a photograph. This can be done manually by the photographer or using a tripod with a panning head. The technique creates a sense of movement and can be used to capture dynamic scenes or add visual interest to a static subject. It can also be used to correct perspective distortion in architectural photography.
A few years ago I dabbled with camera rotation photography, but quickly packed it away after not being able to put together a decent sturdy rig. At the time I wasn’t prepared to spend an amount of money on something that I probably wouldn’t do a lot of….
I continued to be in awe of the Light Painting artists using this technique and their work that is being created, knowing one day will be the time creatively to keep exploring and more importantly learning.
It was only recently after watching an interview with one of these artists, that the creative juices started to bubble again (see links below)..So I spent a morning pulling apart different tripod heads in the hope to make a rig that would hopefully hold my camera with no problem..
I proceeded to take some shots in the studio, and it seems to have worked! I’m actually looking forward to getting out into the wild and looking for scenes that will create a good rotation.
I’ll run through my initial setup, this is step one for me, and by no means perfect (or best practice), but as always, it’s a start. If you don’t start, you never will! LOL
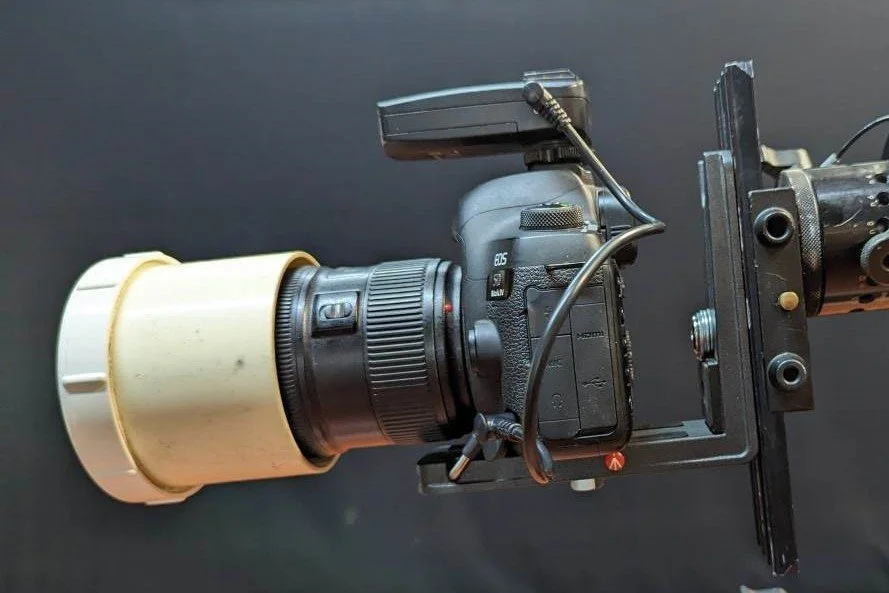
My very rough option for lens capping
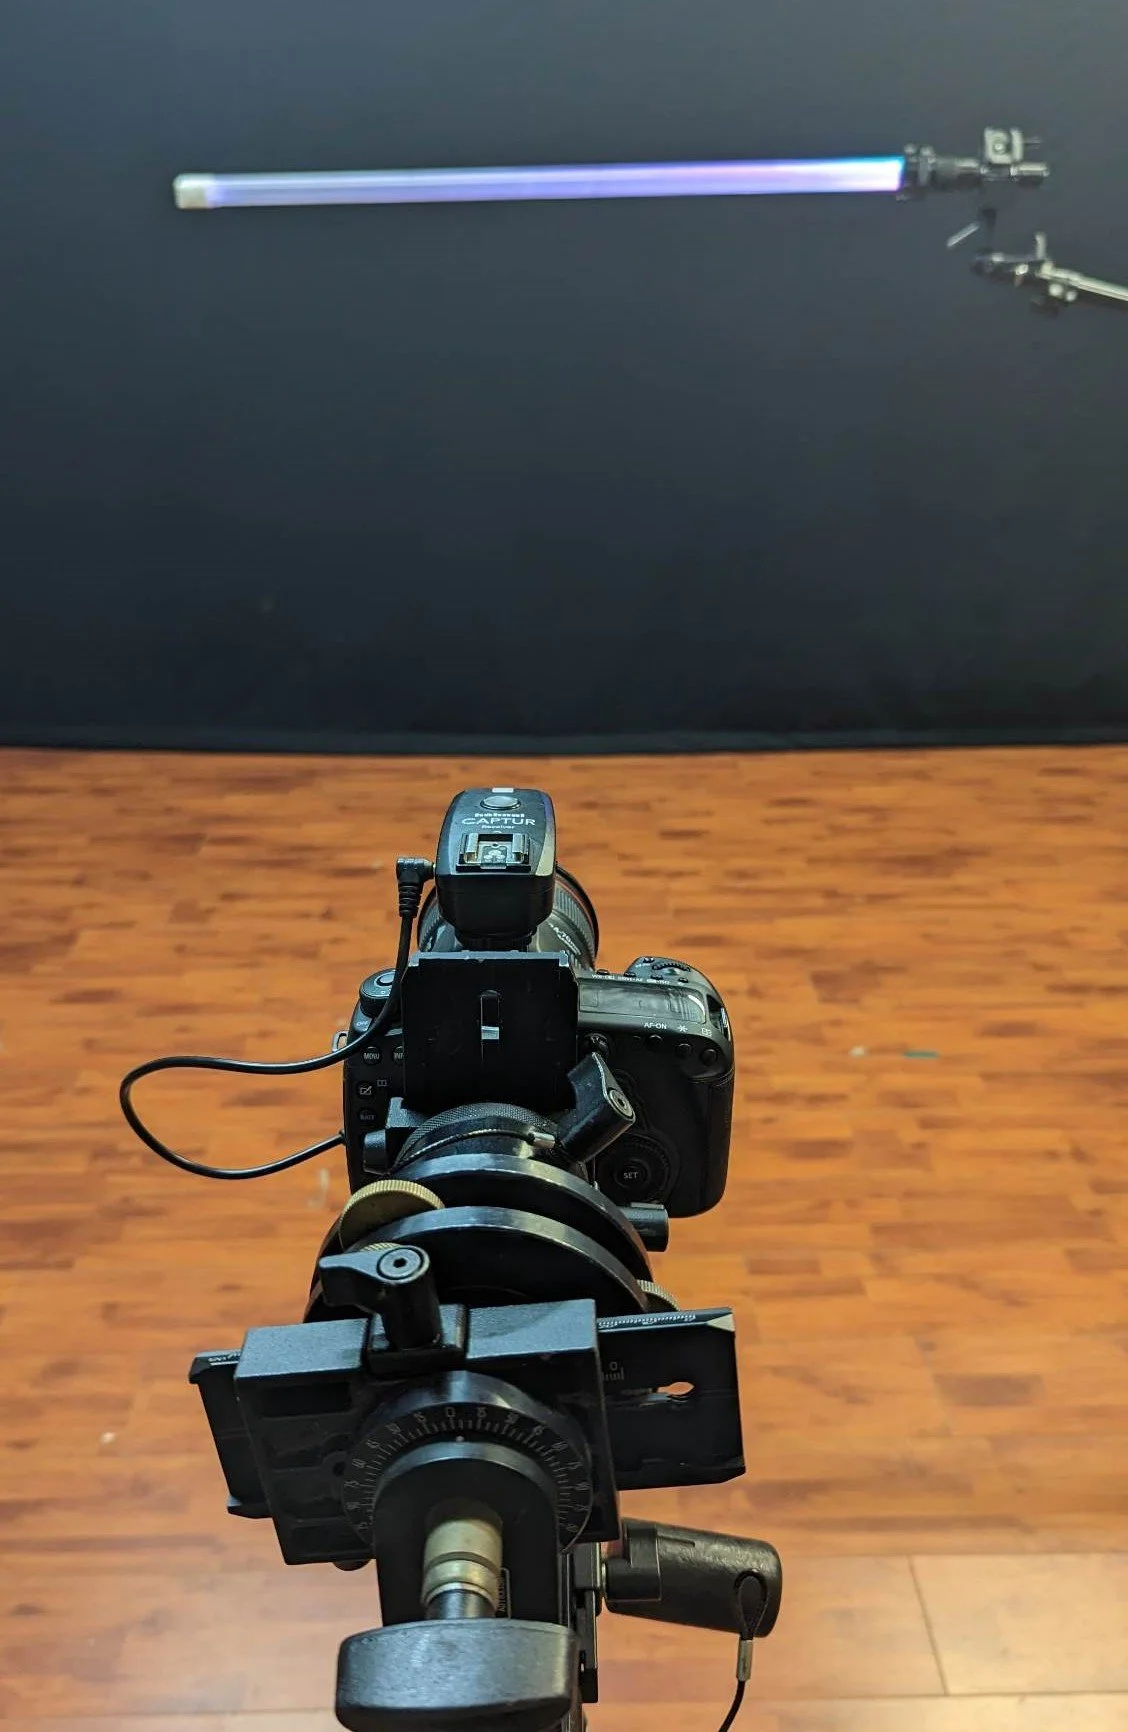
Setup for rotation, super simple for starting out. Tool is DIY acrylic tube. With KYO Tube

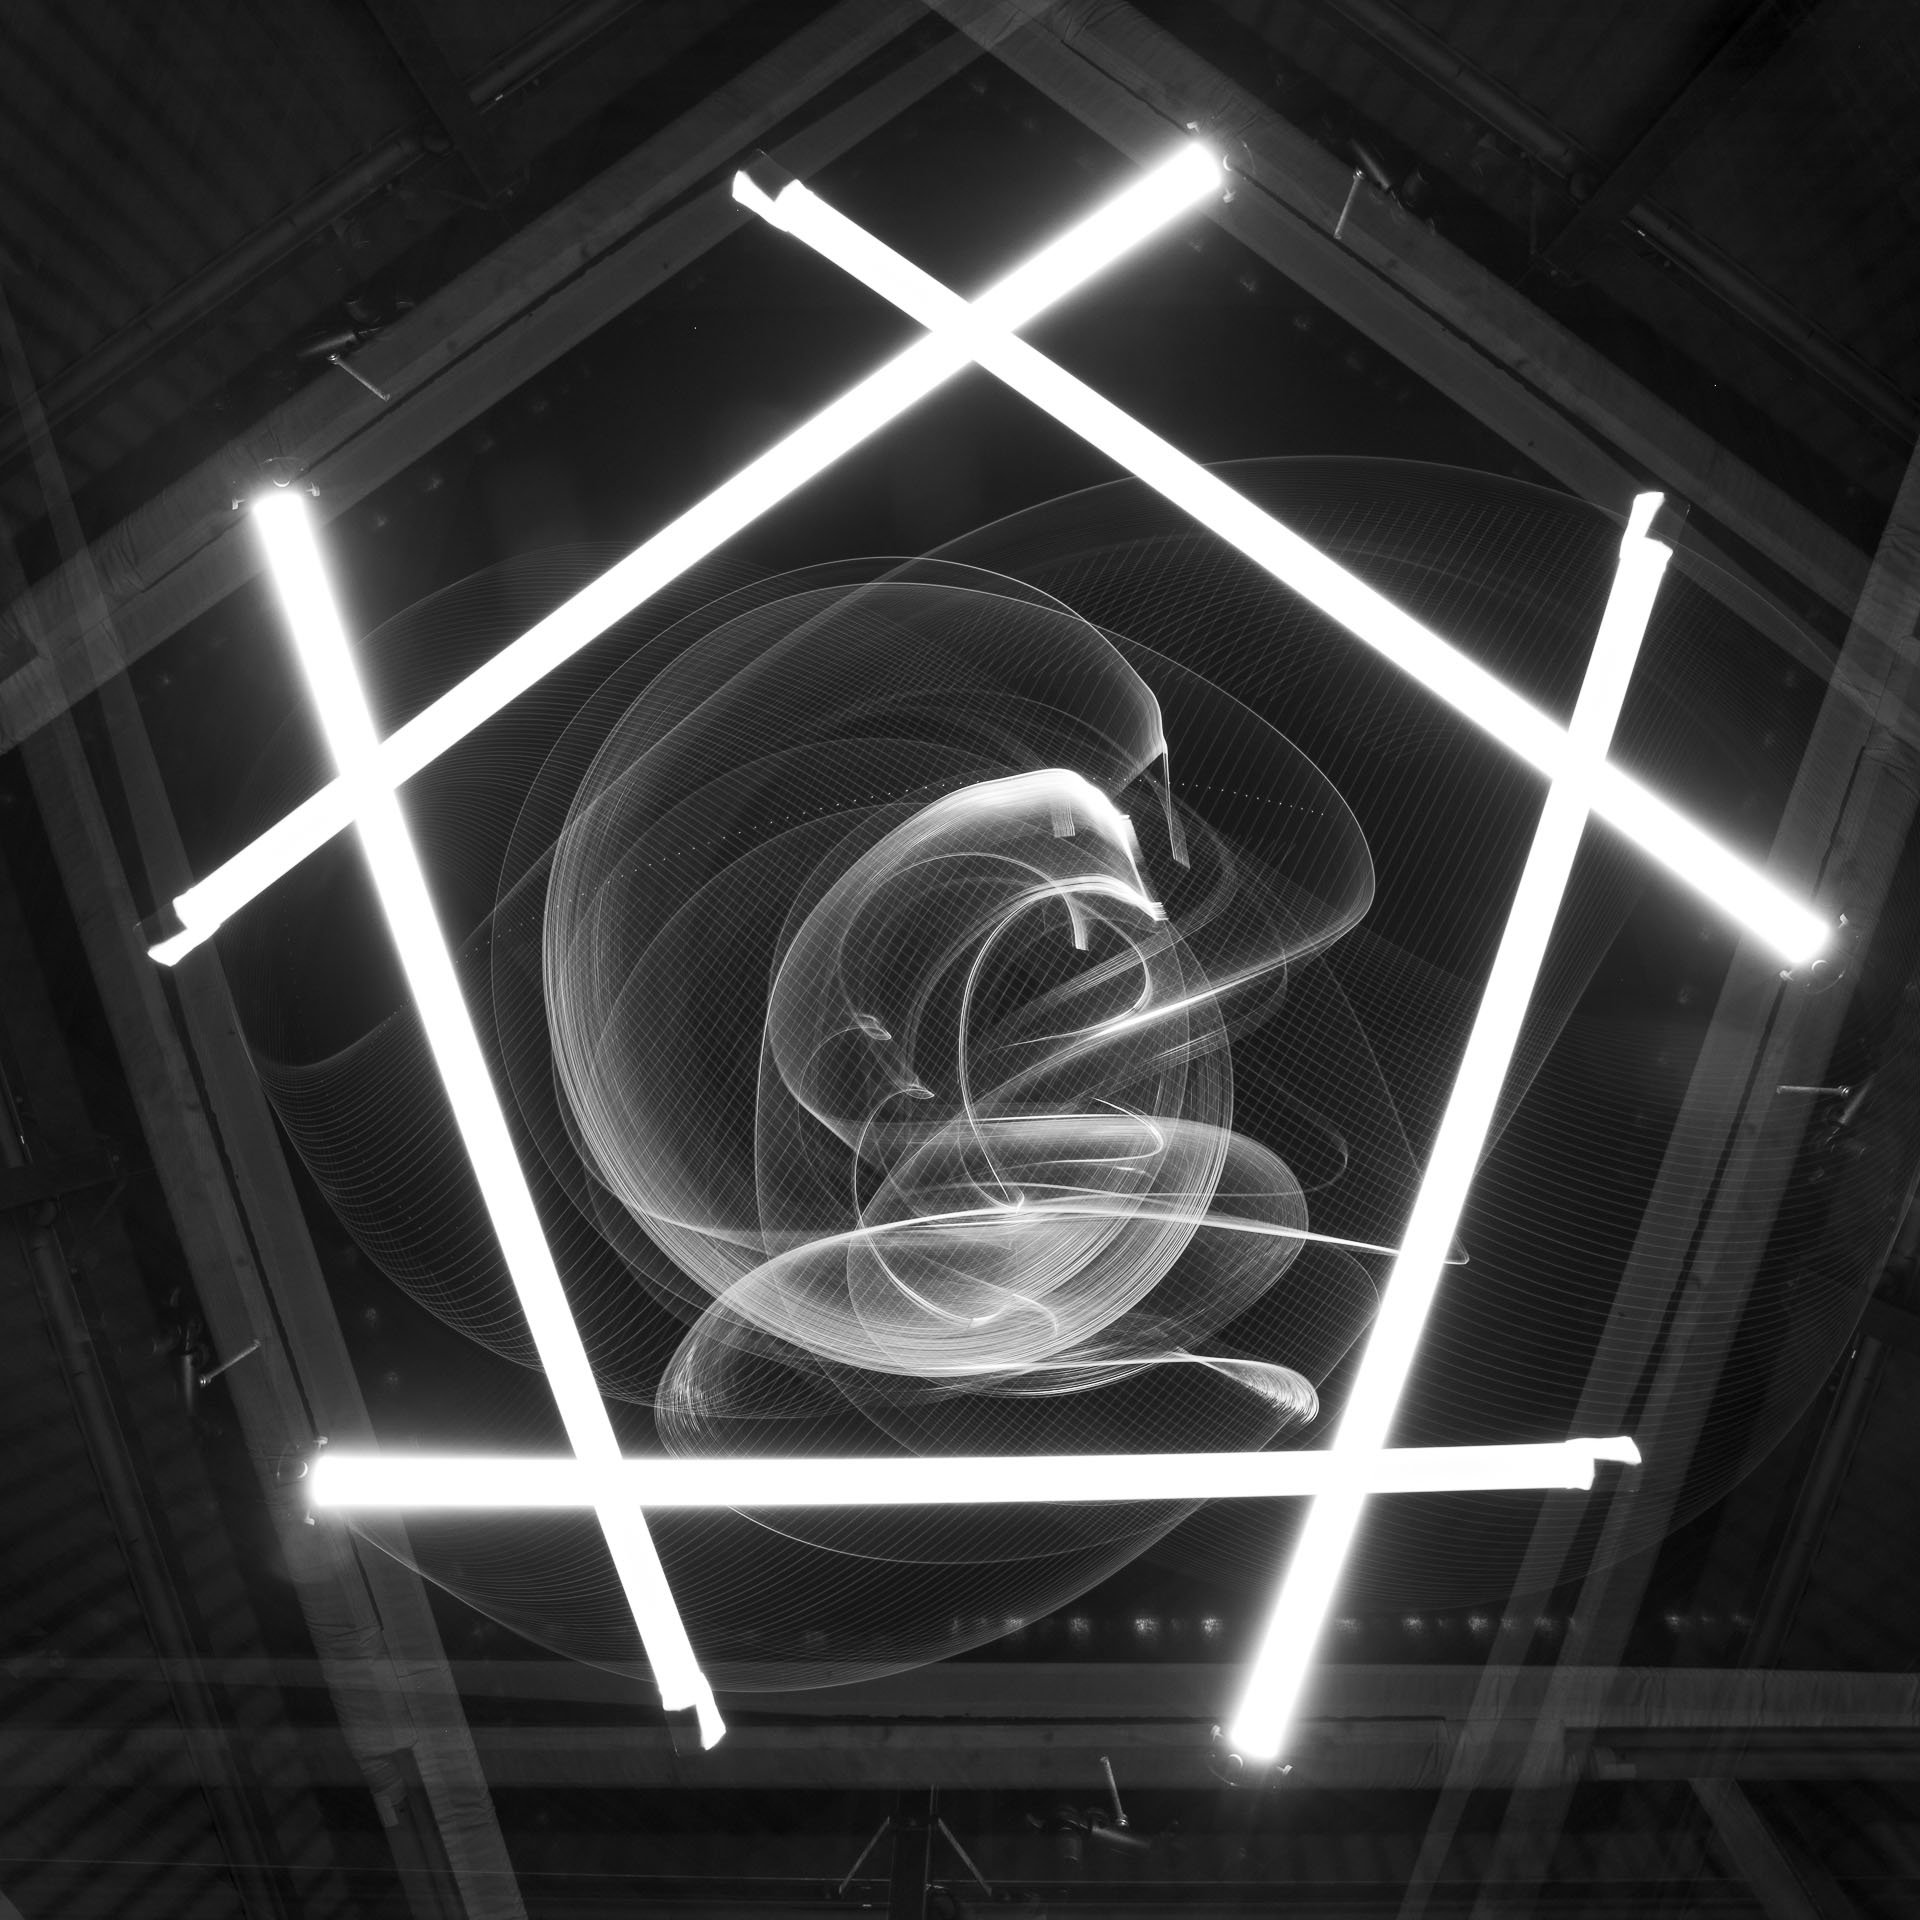
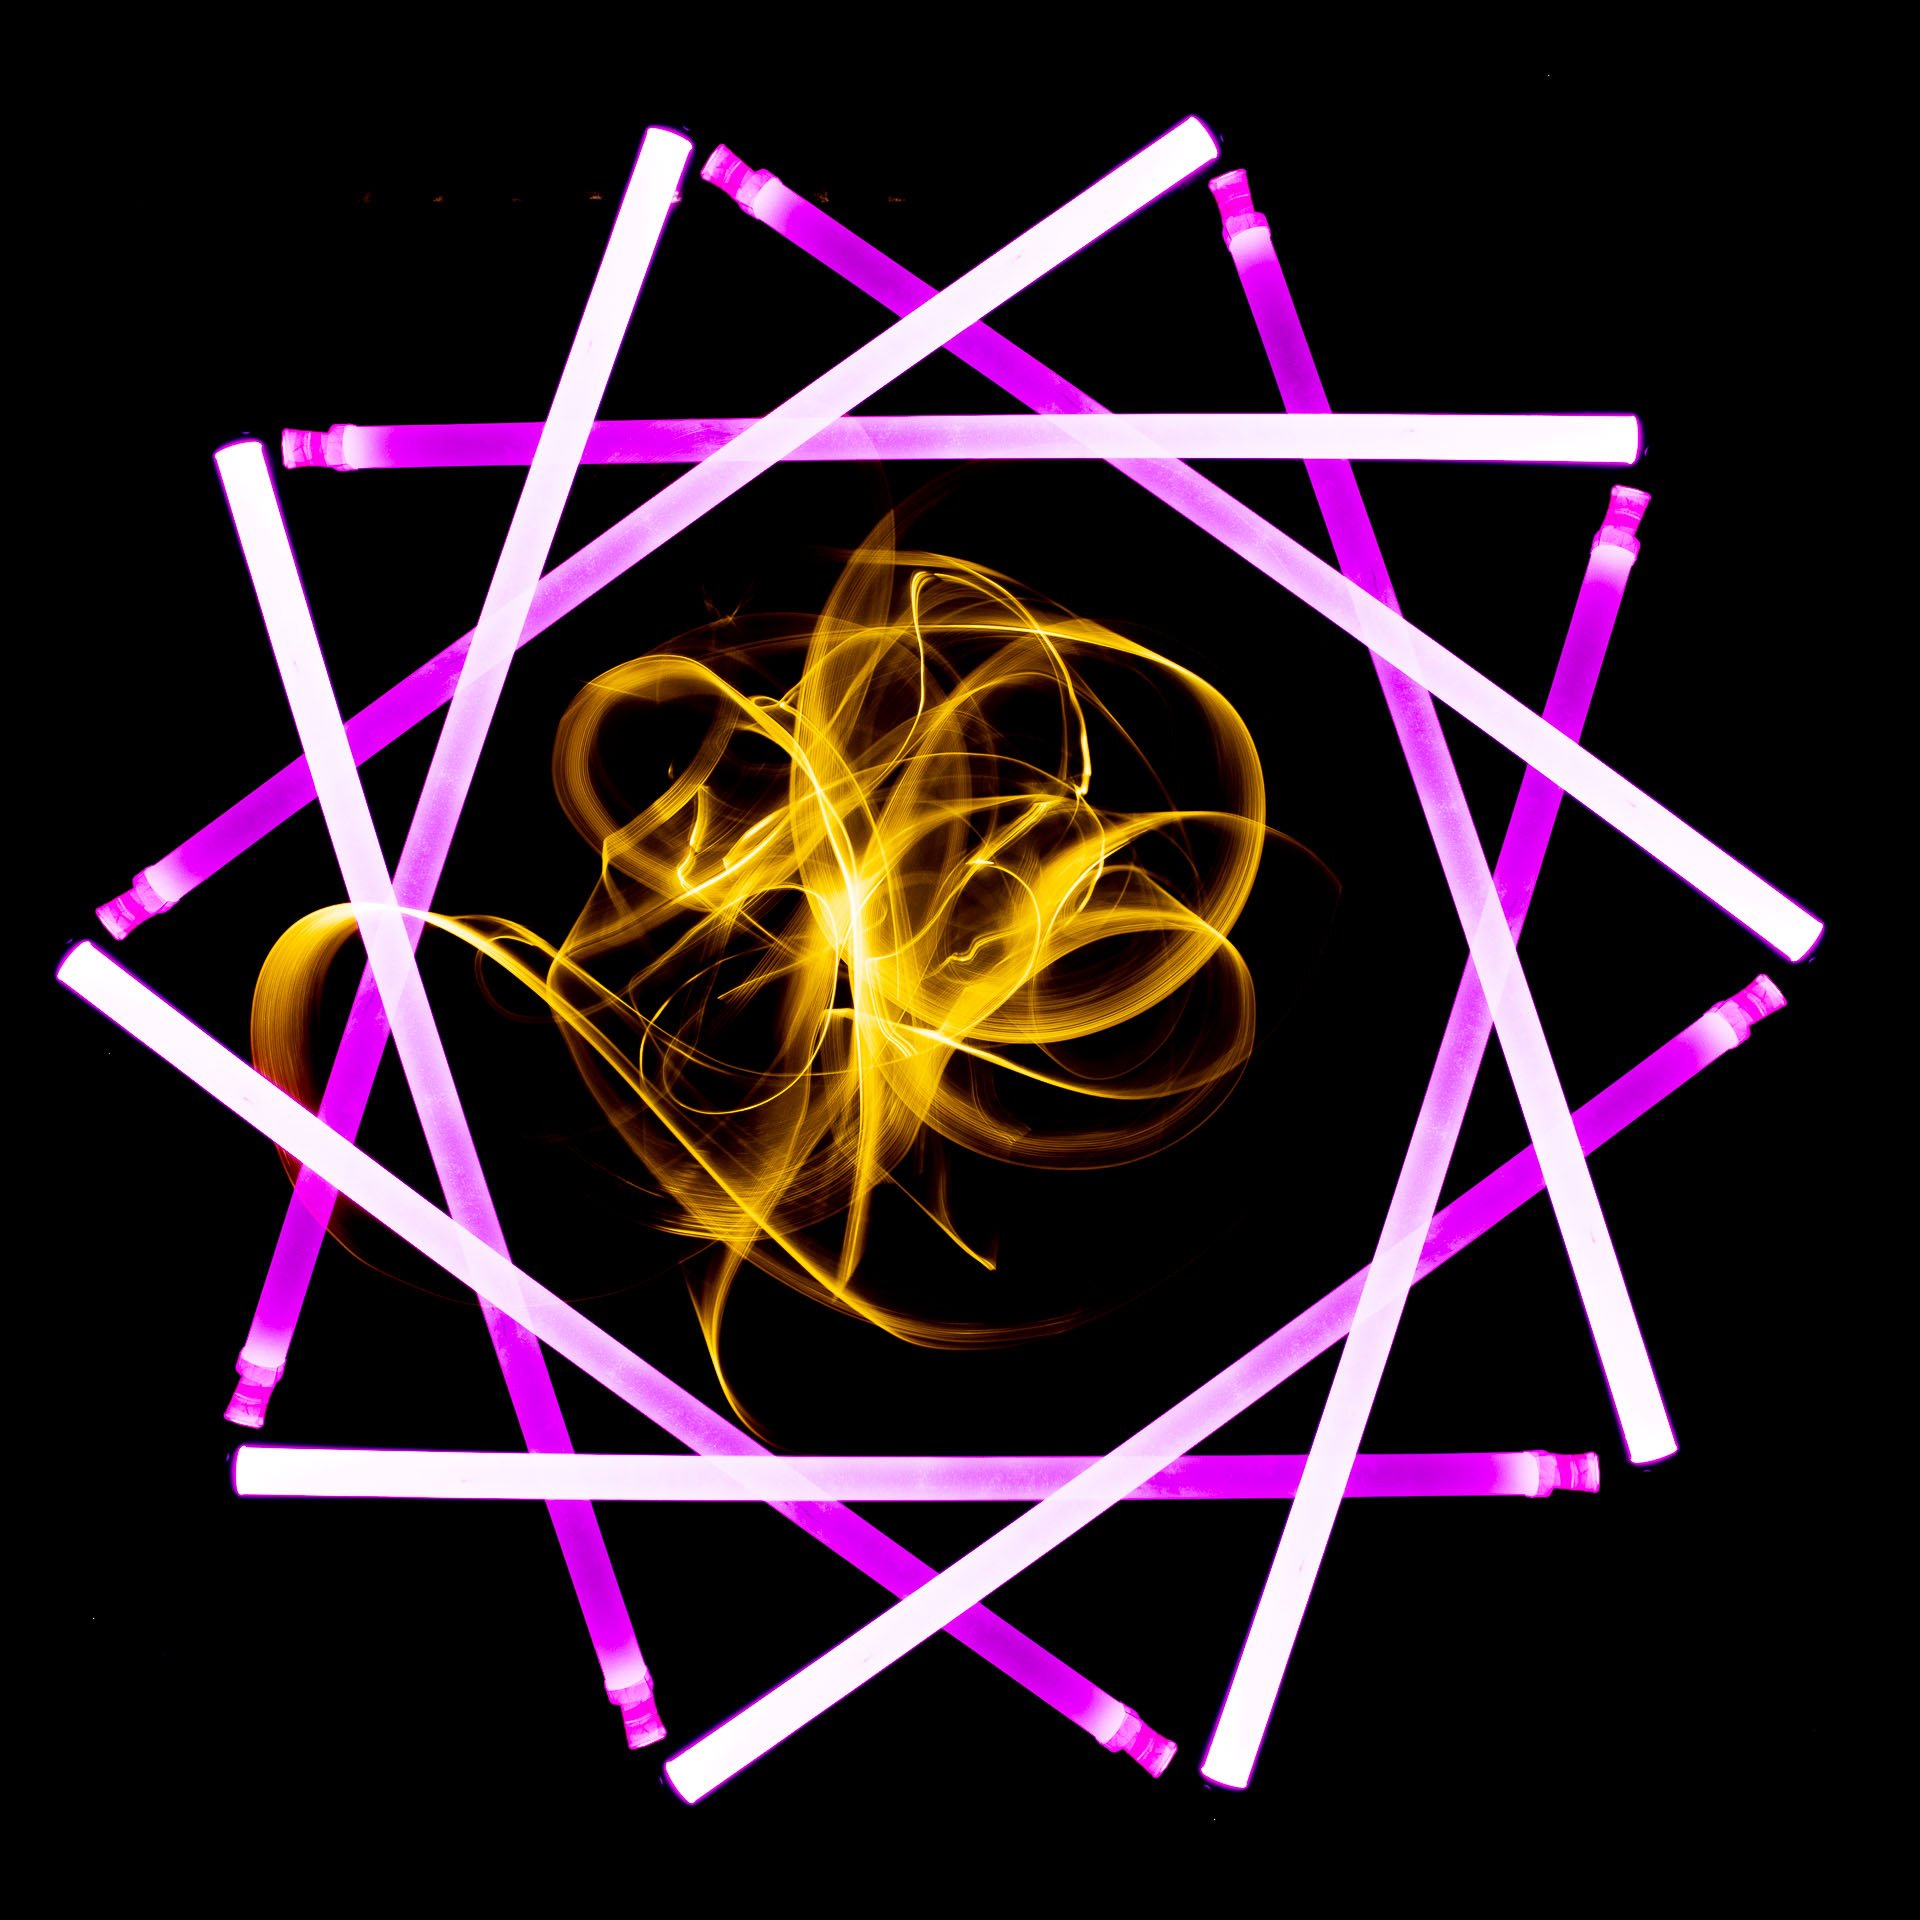
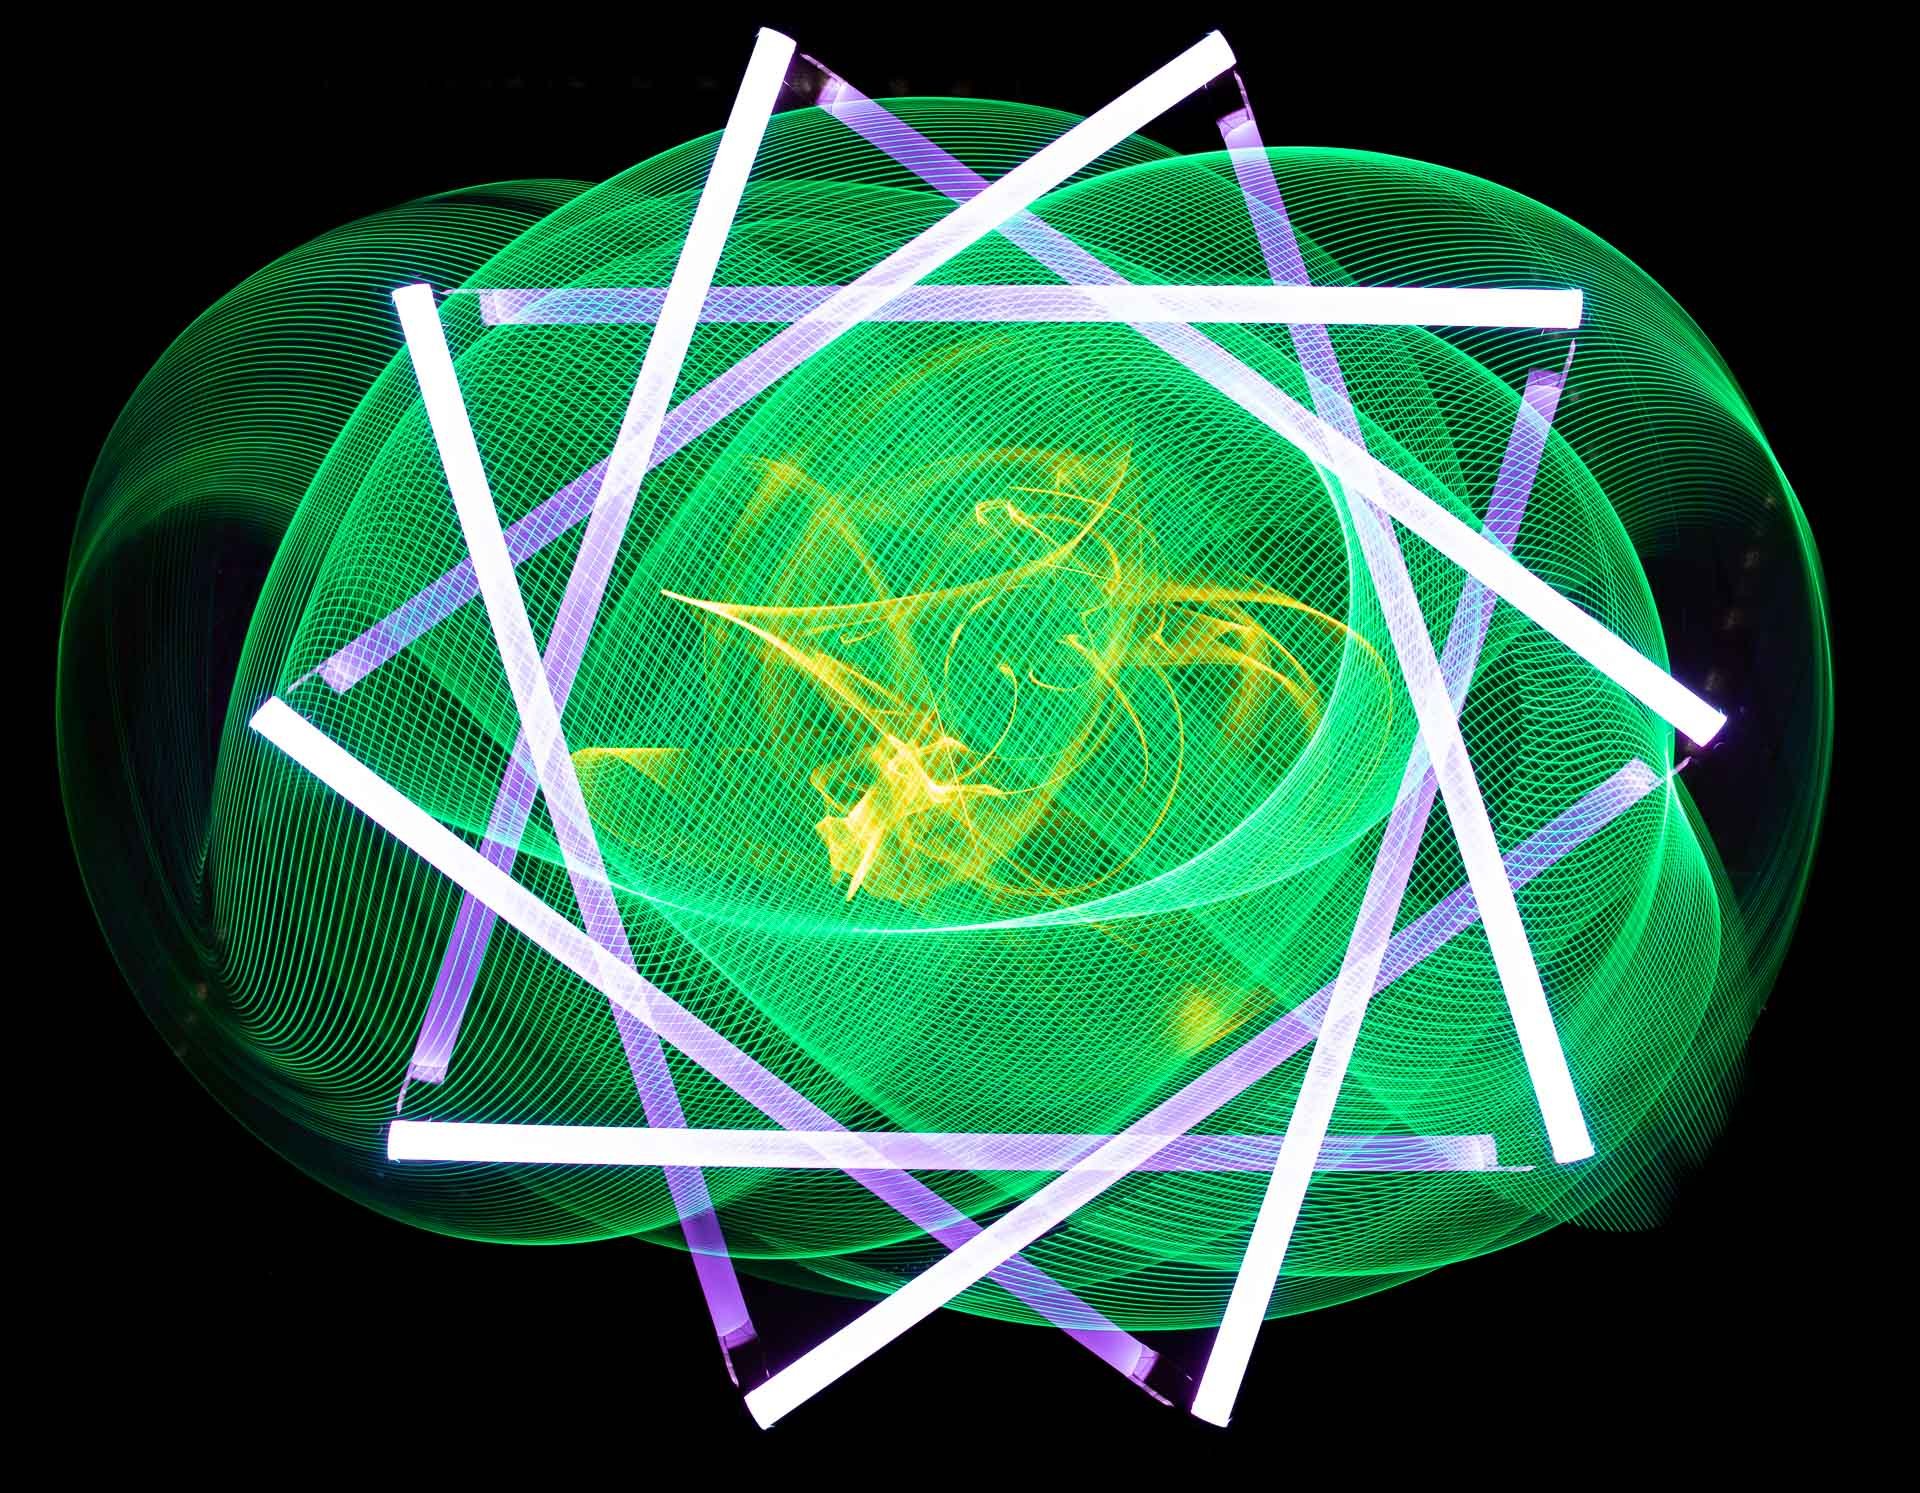
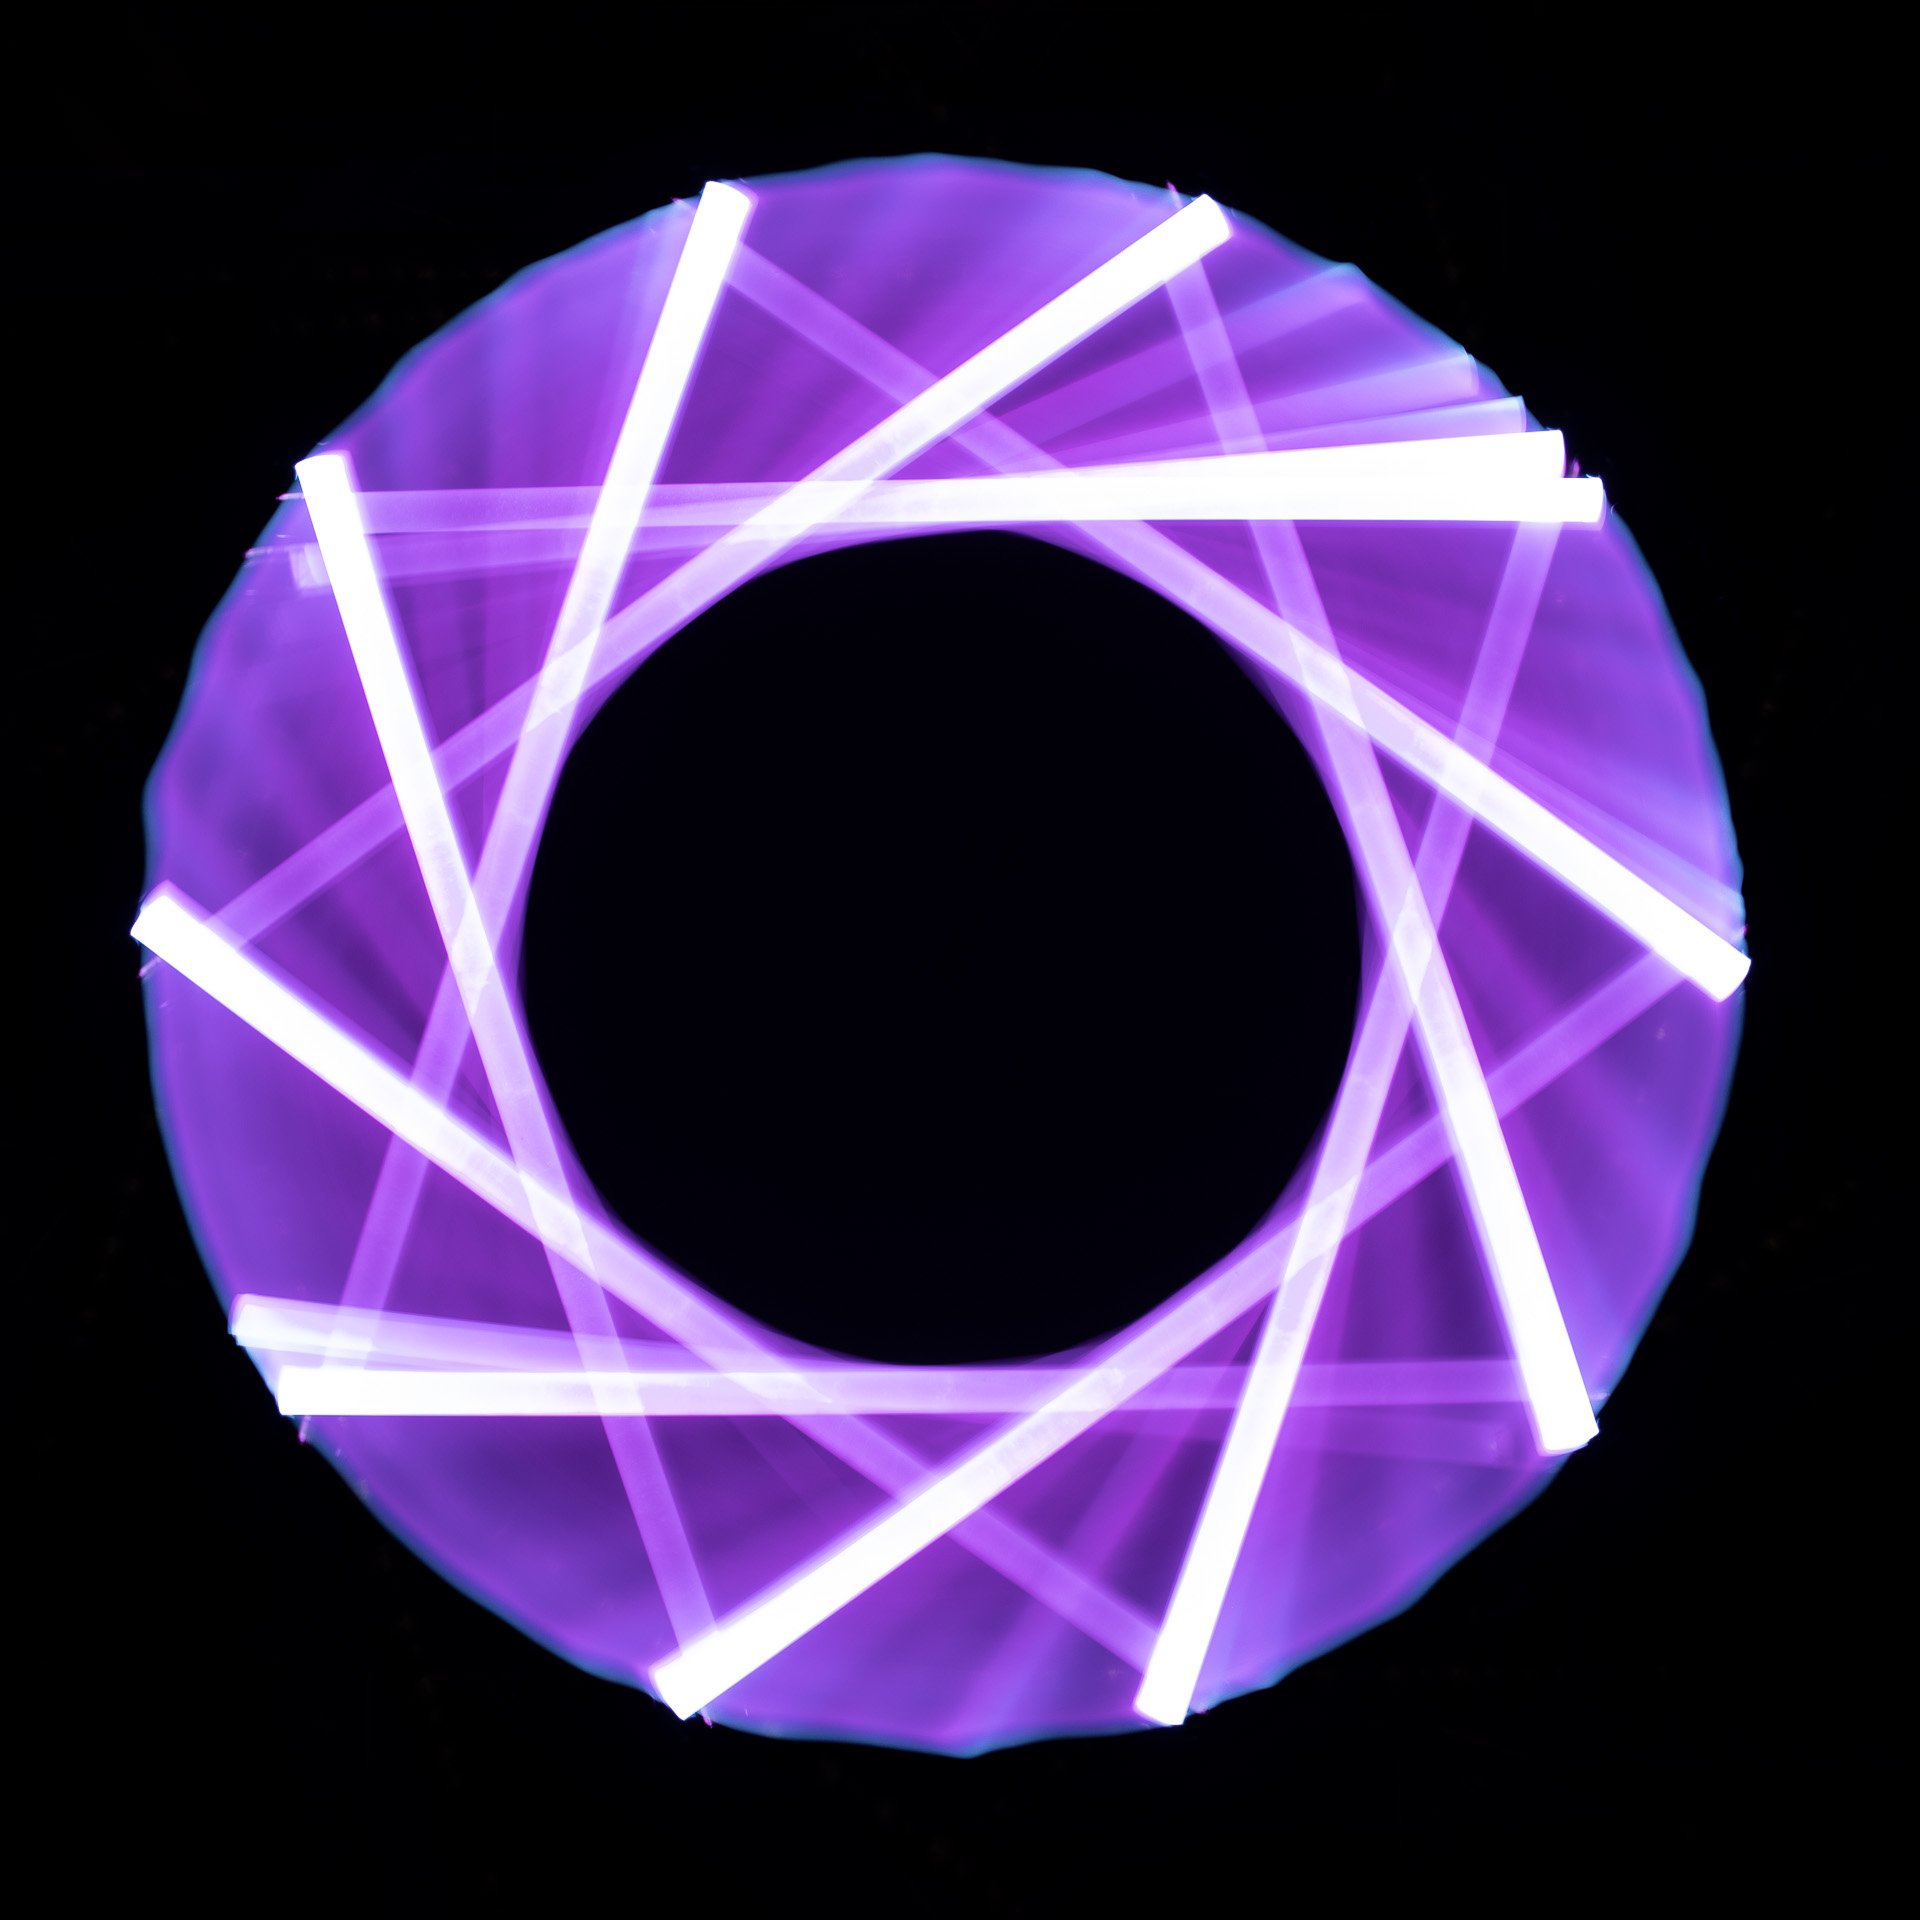
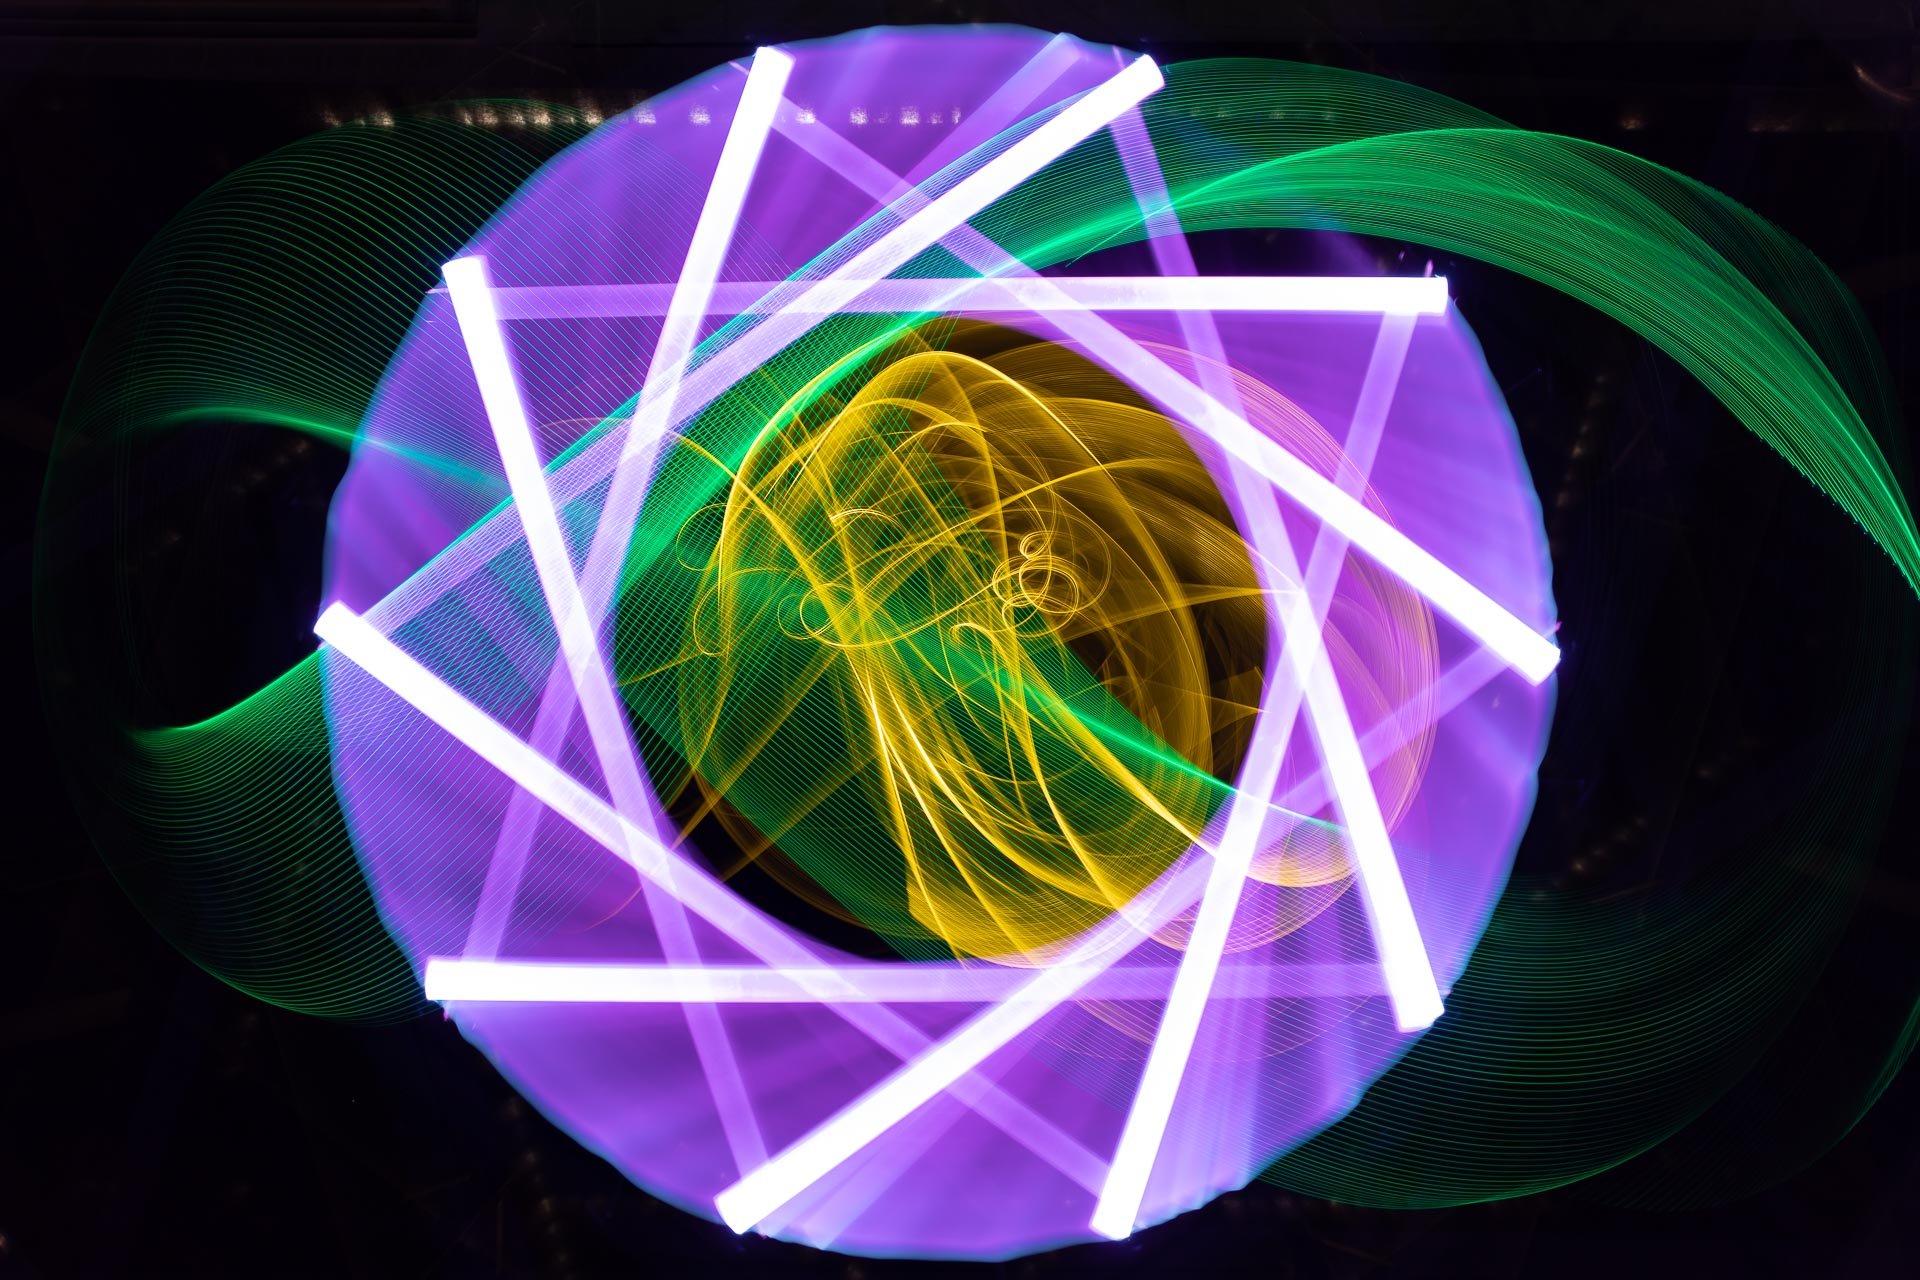
First image, a little Light Blading in the middle. Alignment check seemed ok at this point. Rotated at 72 degree increments.
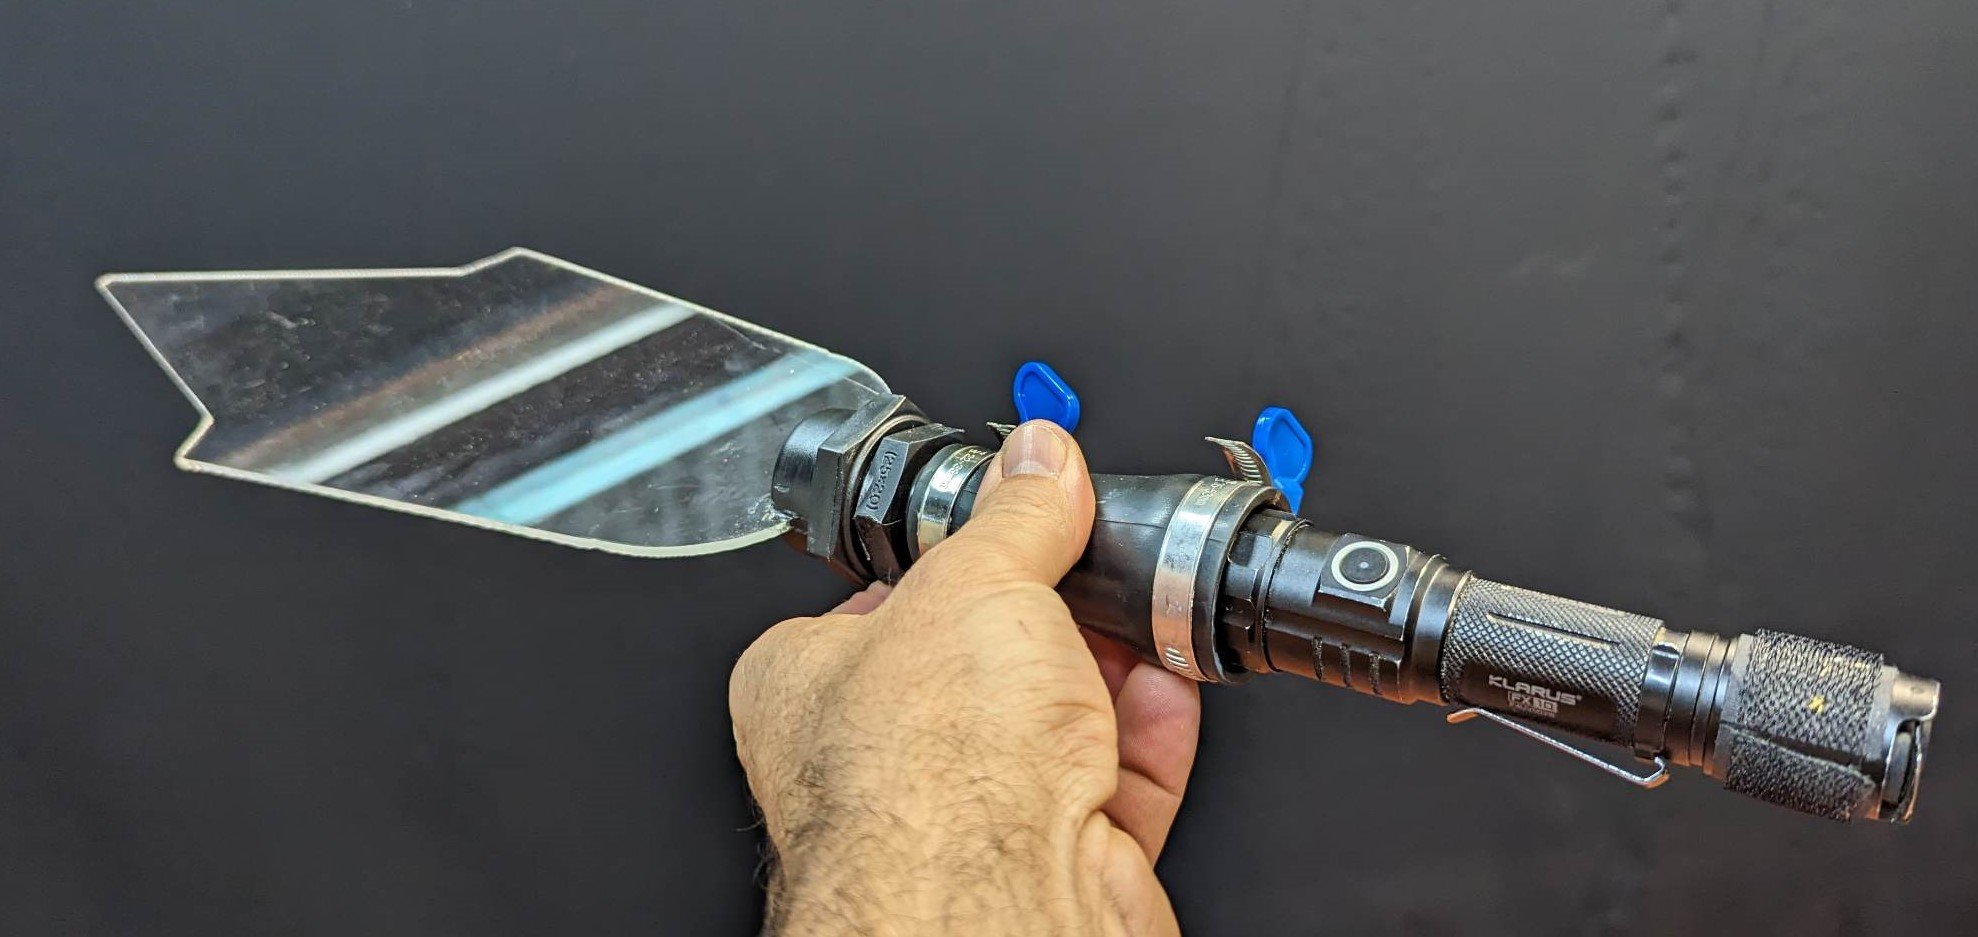
Blade of choice - Light Painting Au - Wedge. With Light Painting Brushes Universal Connector

DIY Bluetooth LED bow
My method that seems to work ok…
1) Settings ISO100 F/9.0 Bulb (5 minutes on timer)
2) After aligning the tube tool with roughly the top of the frame, rotate and check the tool stays somewhat in the frame through the whole rotation.
3) Take a test shot,(I used the remote beeper for this)after three beeps/seconds cap the lens and rotate to the next position. Repeat until at the final position and stop the shutter. Check alignment - does it resemble an even shape?
4) Take more shots! I did the rotations first, then capped while getting the Light Painting tools sorted out. Uncap and Light Paint as you please.
5) Stop shutter
6) Repeat and have fun
I found that rotating at 36 degree increments worked well for what I wanted, this would change depending on the scene and what outcome you wish to achieve. This was a pretty short session for me just to get started and I’m hoping as this project develops that I’ll add to this blog to update my learnings.
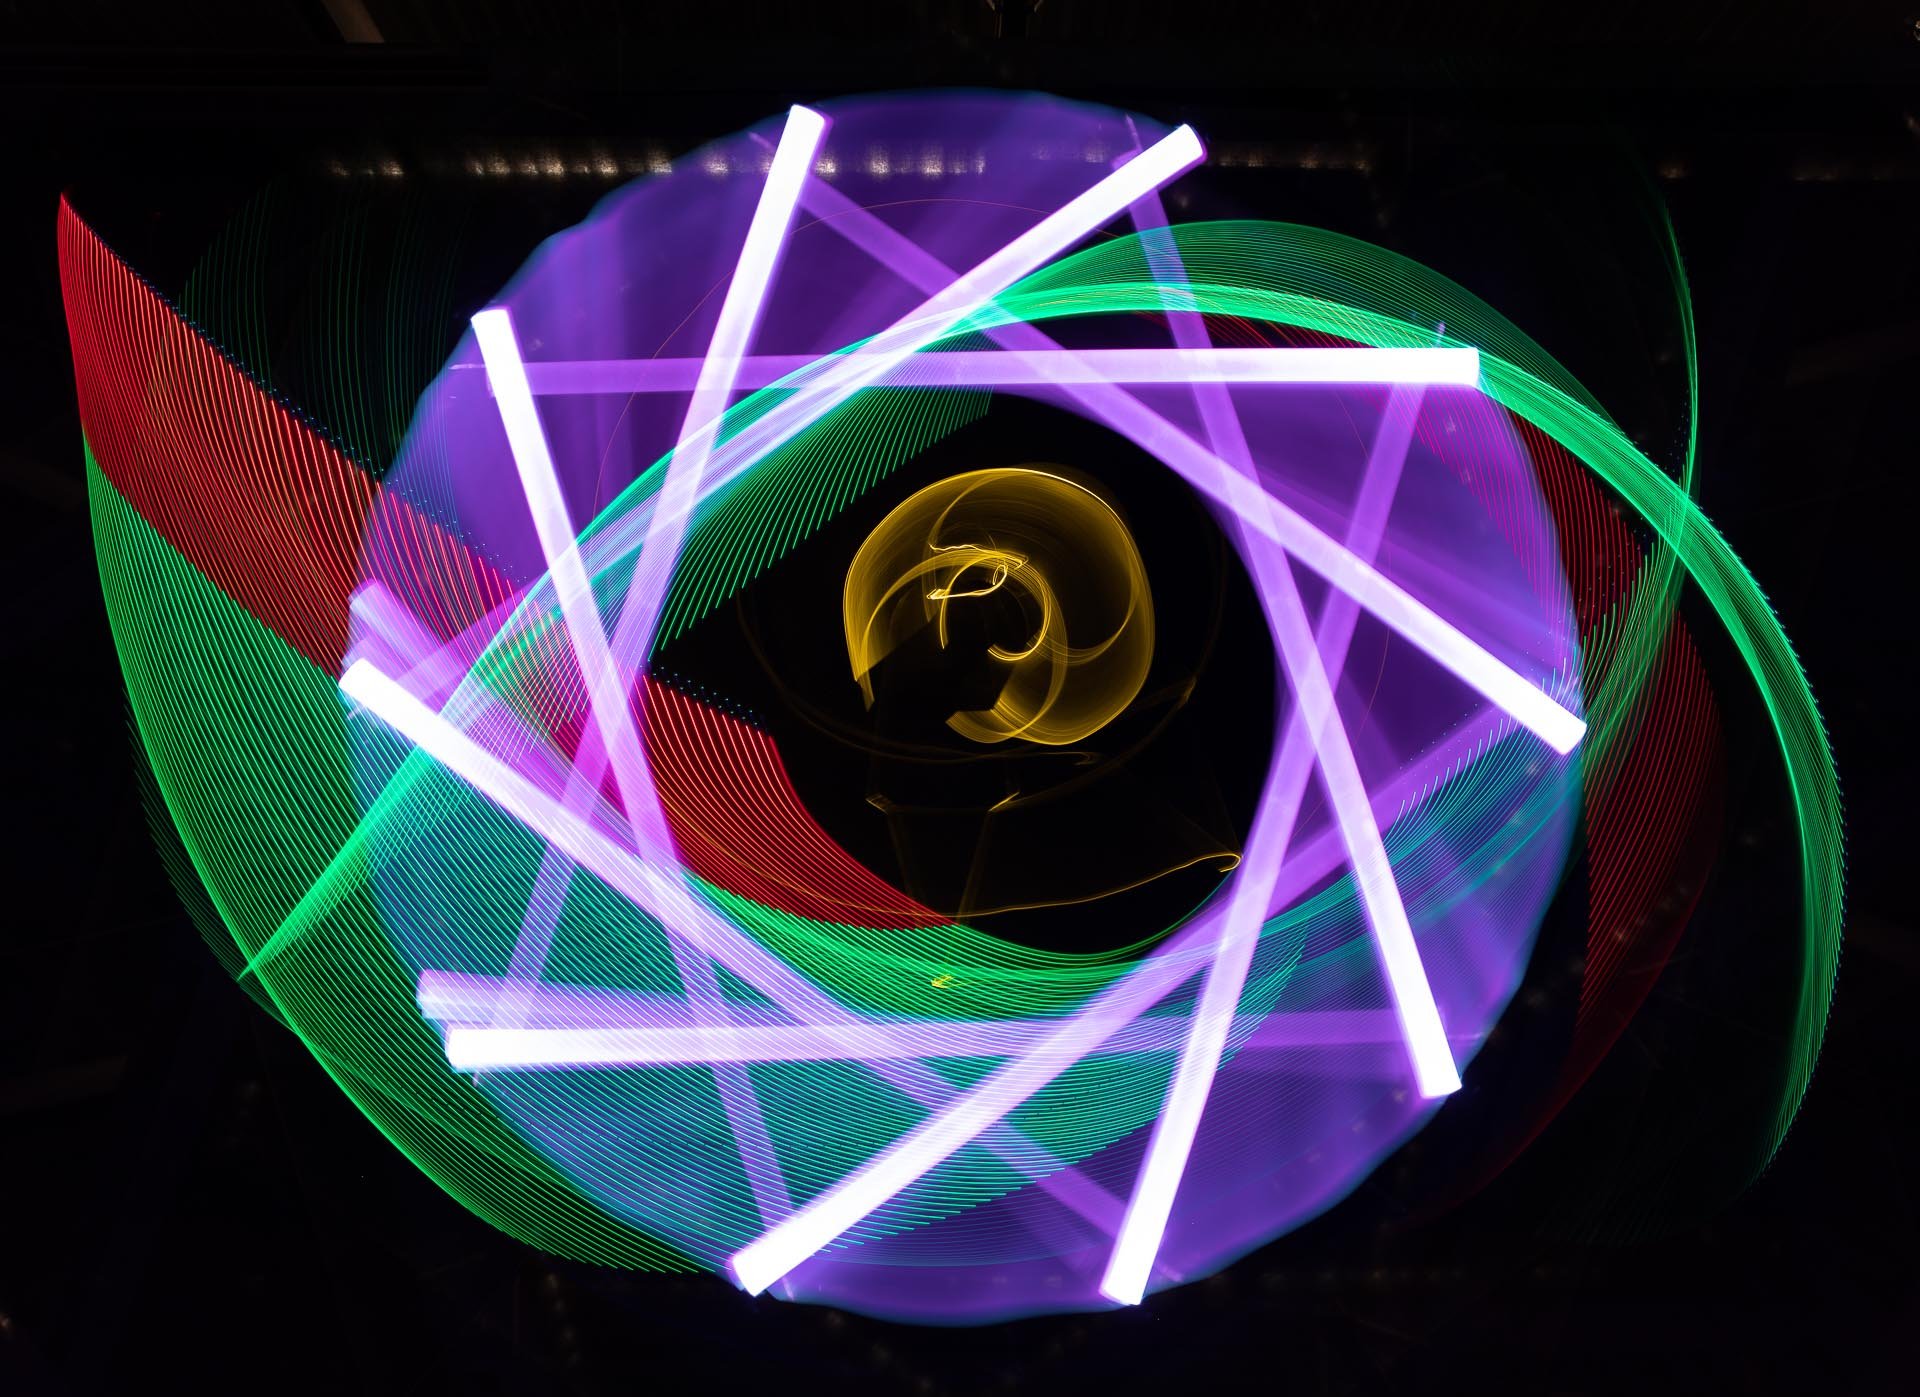
A few results from the session:

Inspiration
I always like to give a shout out to my main inspiration when giving something new a go. I feel this is a great part of the Light Painting culture that shows appreciation to the artists that have shared and therefore sparked the creativity.
A few Light Painting artists (to name a few) that use this technique, check them out